
CryptoPad on iPhone: your first key, contact and message
This guide takes you from a freshly installed app to your first encrypted message and back: make your own key, give its public part to someone, add their public key as a contact, encrypt a message for them and decrypt one sent to you. It takes about five minutes.
The screenshots show CryptoPad on iOS 27; on an older iOS some screens look a little different, with the same names on the buttons. The app has three tabs at the bottom — Settings, Contacts and Pad — and you can also move between them by swiping left or right. It always opens on Settings.
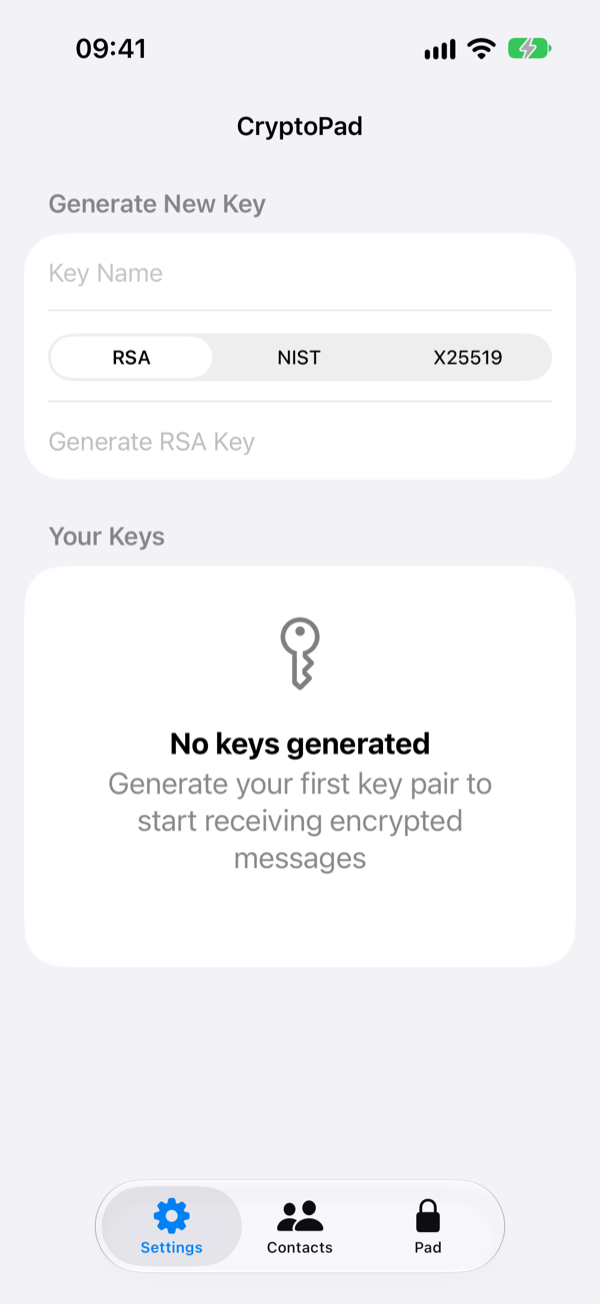
1. Make your key
On Settings, type a name for the key in Key Name — for example My phone. A name is 2 to 50 characters: letters and digits in any alphabet, spaces, dots, dashes, underscores, apostrophes (as in O’Neill) and middle dots. Anything else — @, !, slashes, emoji and so on — is refused with “Name contains invalid characters”.
Under the name, tap the key type: RSA (the default), NIST or X25519. Any of them works — the key guide explains the difference. The button below follows your choice (Generate RSA Key, Generate NIST Key or Generate X25519 Key), and the app remembers the type you picked last.
Tap the button. An RSA key takes a few seconds; the other two are ready at once. The new key appears under Your Keys.
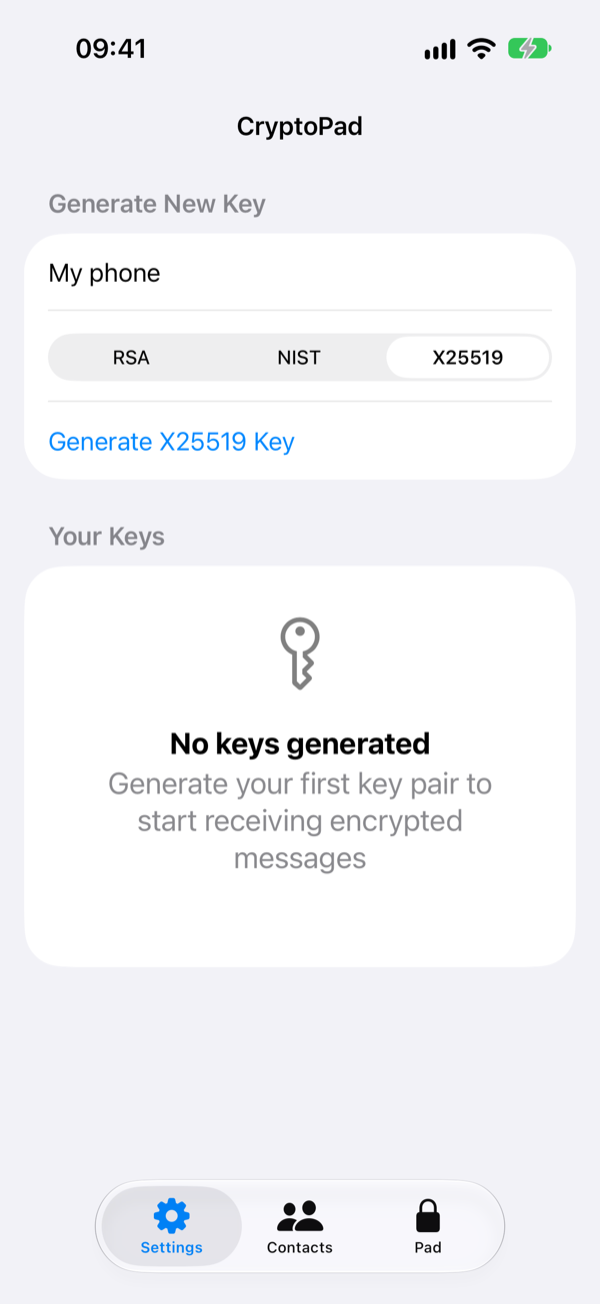
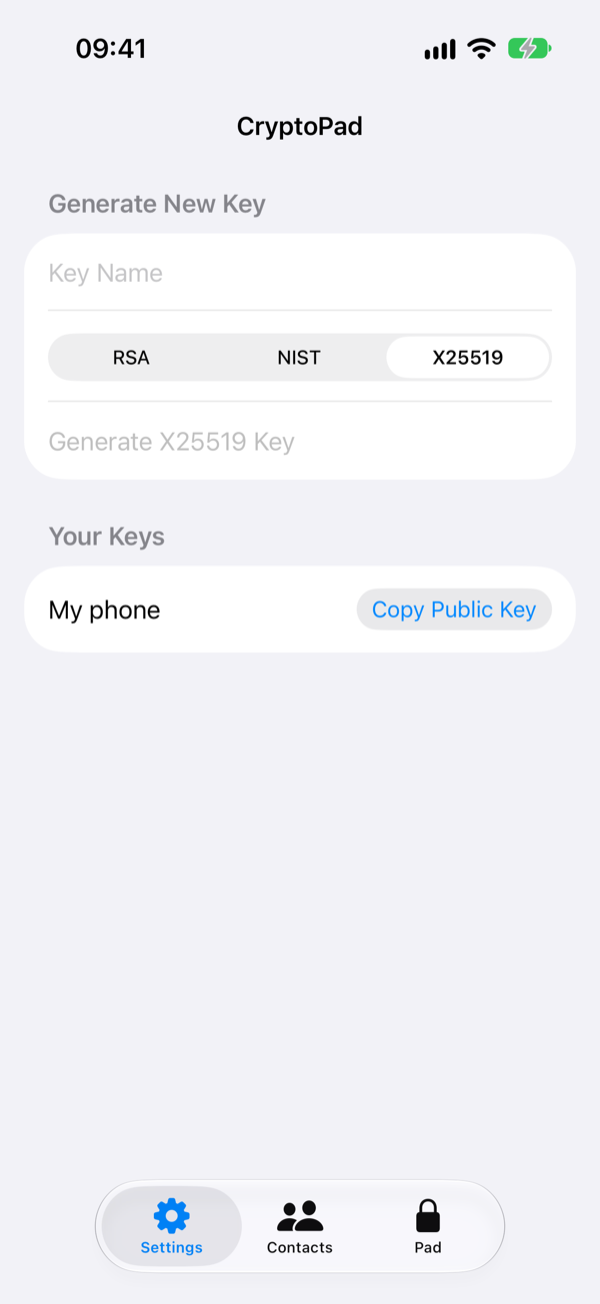
The key never leaves the phone. What the app copies is only its public part; the private part is kept in the iPhone's Keychain, on this iPhone only, and is never shown or copied out.
2. Send your public key
Tap Copy Public Key next to your key. For a moment the button reads Copied. Paste the key into any messenger or email to the people who will write to you.
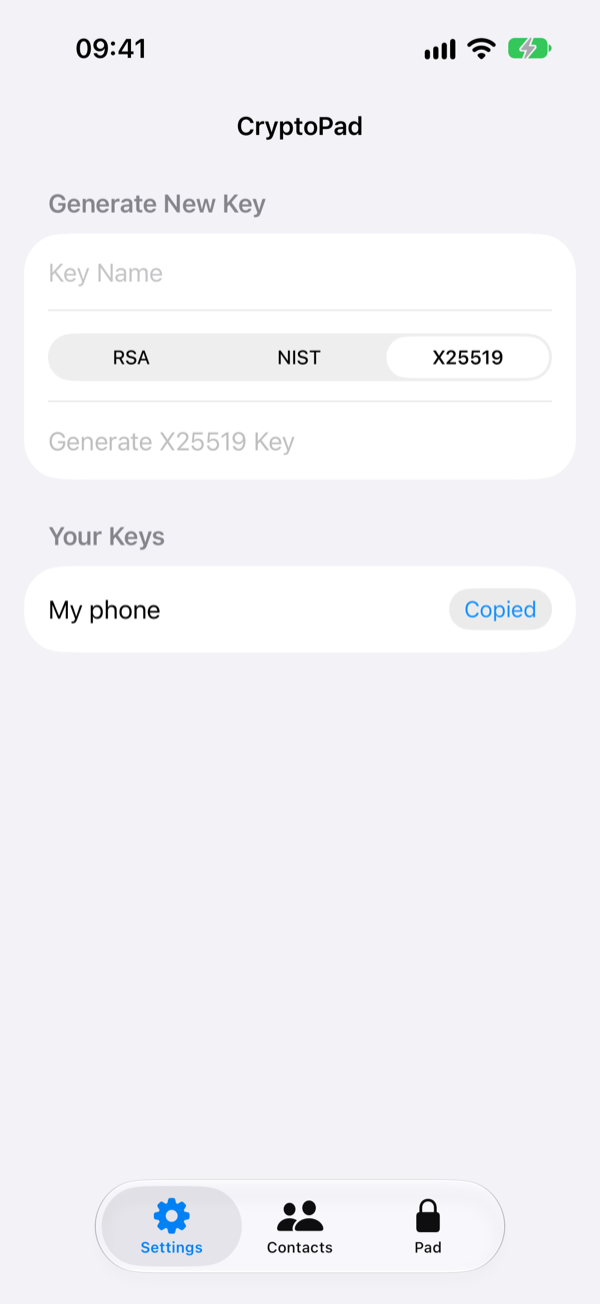
The public key is safe to send openly: all it can do is lock messages for you. It is a block of text that starts with -----BEGIN PUBLIC KEY----- and ends with -----END PUBLIC KEY----- — send all of it, those two lines included.
3. Add a contact
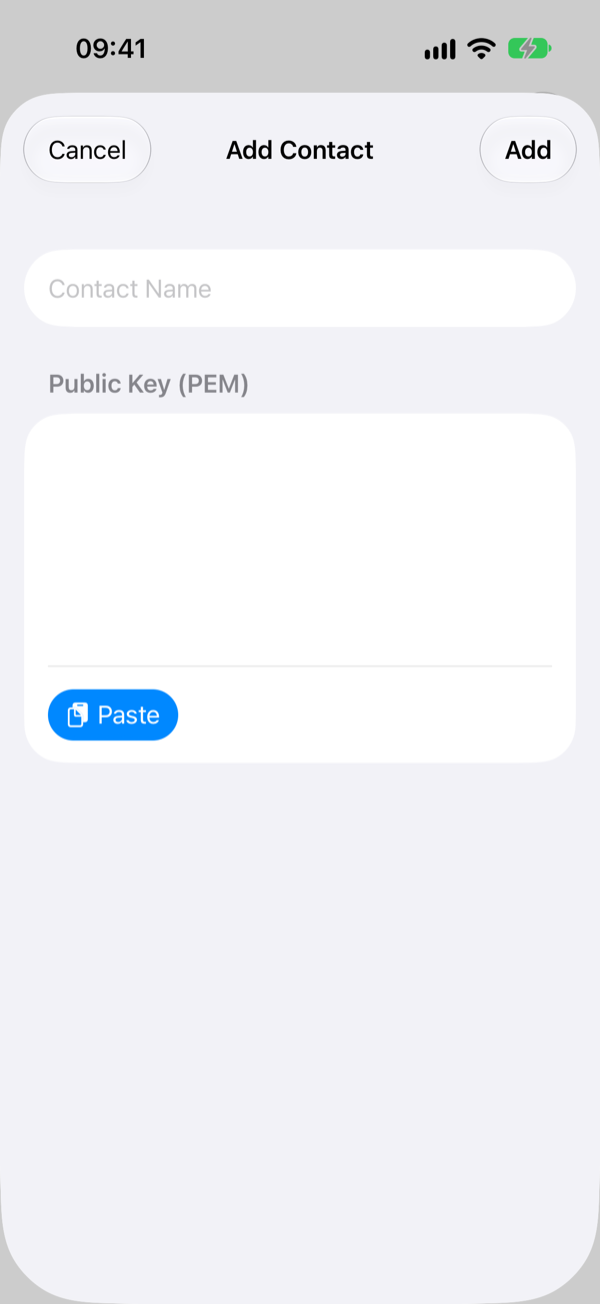
Ask the person you will write to for their public key, and copy it on your phone. Then open Contacts and tap + at the top (on an empty list, Add Contact does the same).
In the form, type their name in Contact Name, tap Paste to put their key under Public Key (PEM), and tap Add at the top right. Contact names follow the same rules as key names, and two contacts cannot share a name. If something is wrong, the form stays open and says what, in red.
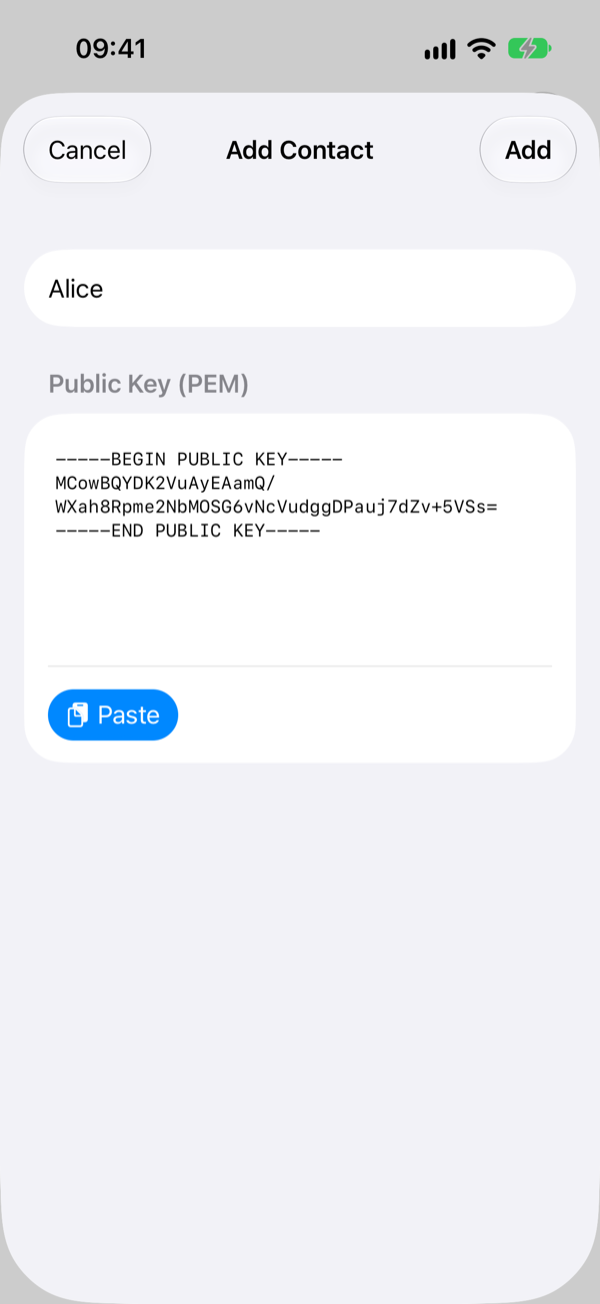
Before you rely on a contact, make sure the key really is theirs: compare it with them through another channel — side by side when you meet, or a long stretch from the middle of it read aloud on a call. Not the first or last lines: those look alike for every key of the same type. The key guide says why this matters.
4. Choose who the message is for
The contact with a checkmark is the recipient: the person the next message is encrypted for. Tap a contact's name to choose it. A contact you have just added is chosen automatically.
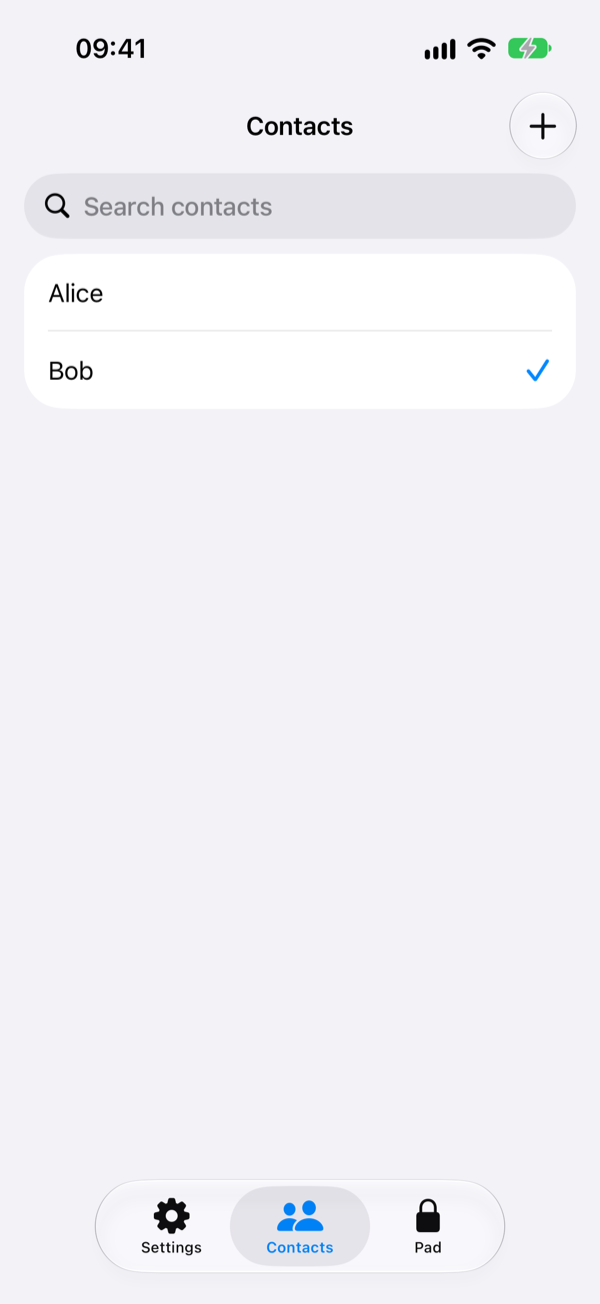
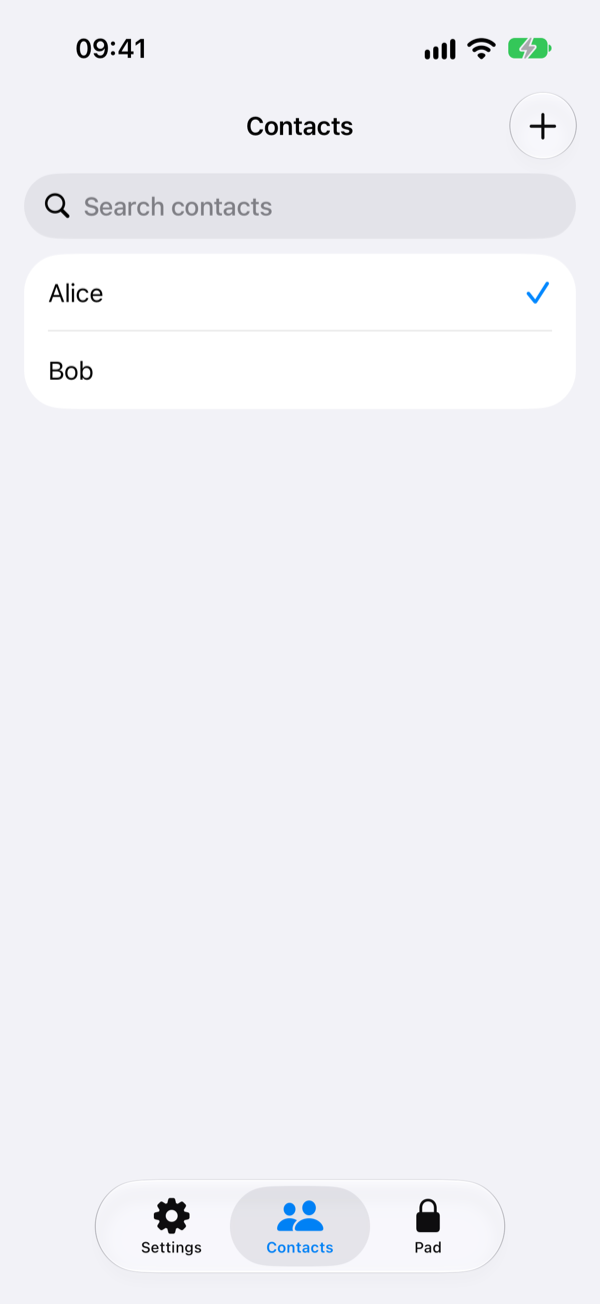
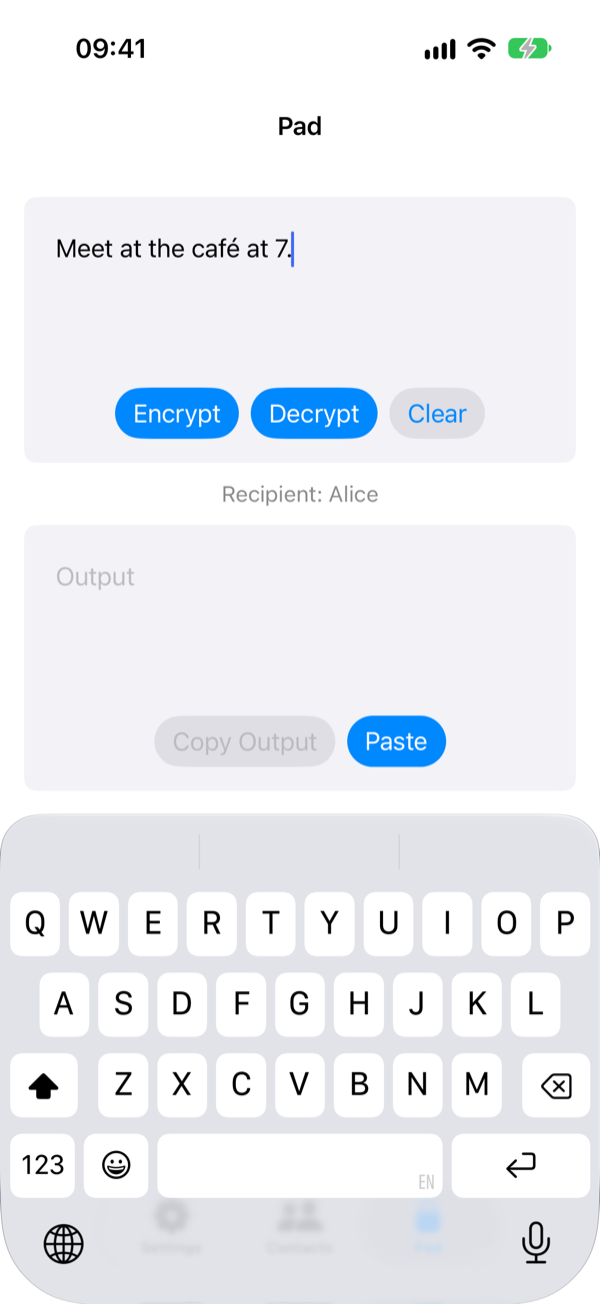
The choice is not kept when the app is closed, so check it before you encrypt: the Pad shows it as “Recipient: Alice” (right after an Encrypt or Decrypt that line shows the result instead, until you change the text). Search contacts above the list finds a contact by name.
5. Encrypt a message
Open Pad and type your message where it says Enter plain/cipher text. Tap Encrypt. The line under the buttons says who it was encrypted for — “Encrypted for Alice” — and the encrypted text appears in the box below.
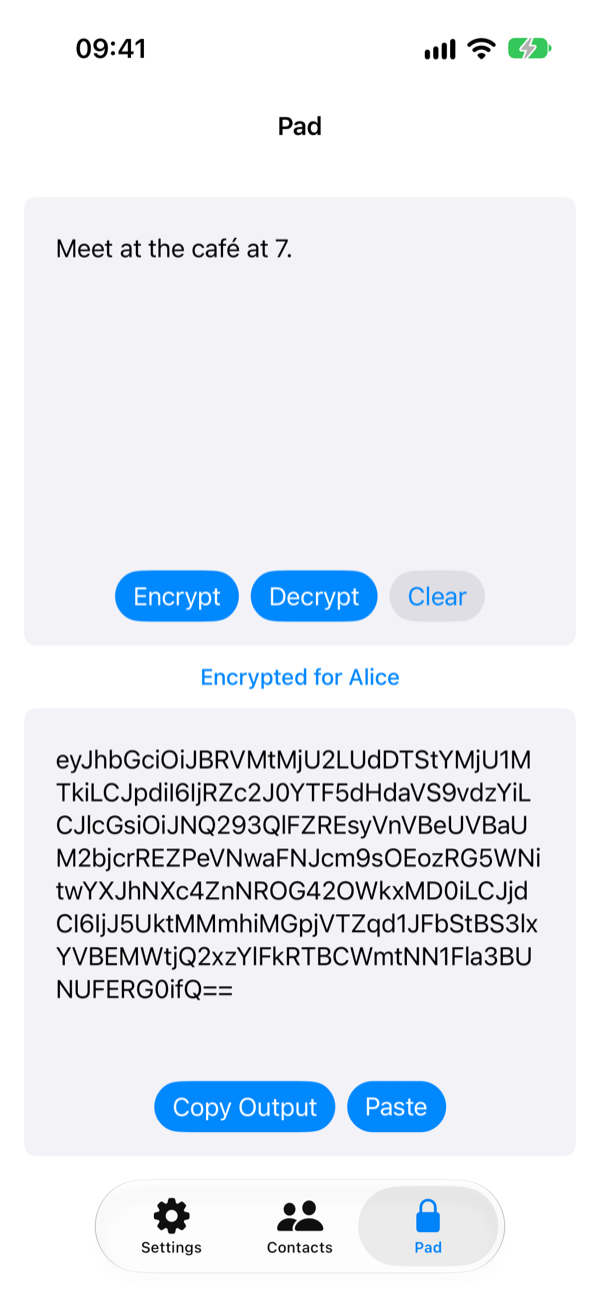
Tap Copy Output and paste the result into any chat or email to that person. It is one long line of letters, digits and a few symbols (+, /, =); send it whole, in one message. Only the holder of Alice's key can open it — once it is encrypted, not even you can. The same text encrypted twice gives two different results; that is expected.
Encrypt stays grey until a recipient is chosen and there is some text on the Pad. When no recipient is chosen, the Pad says so in red: “Select a recipient in Contacts tab to encrypt messages”.
6. Decrypt a message sent to you
Copy the encrypted message you received. On Pad, tap Paste — it is under the lower box, but it fills the upper one, replacing whatever was there — and then Decrypt. The readable text appears in the lower box, and the line above it says which of your keys opened it: “Decrypted for My phone”.
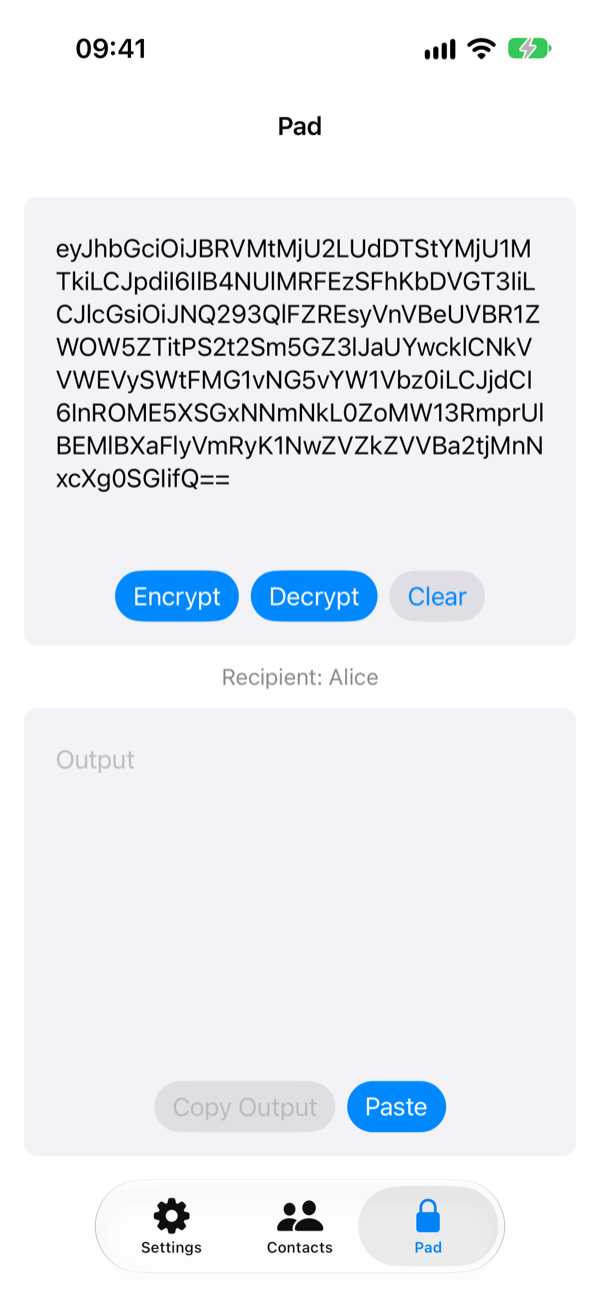
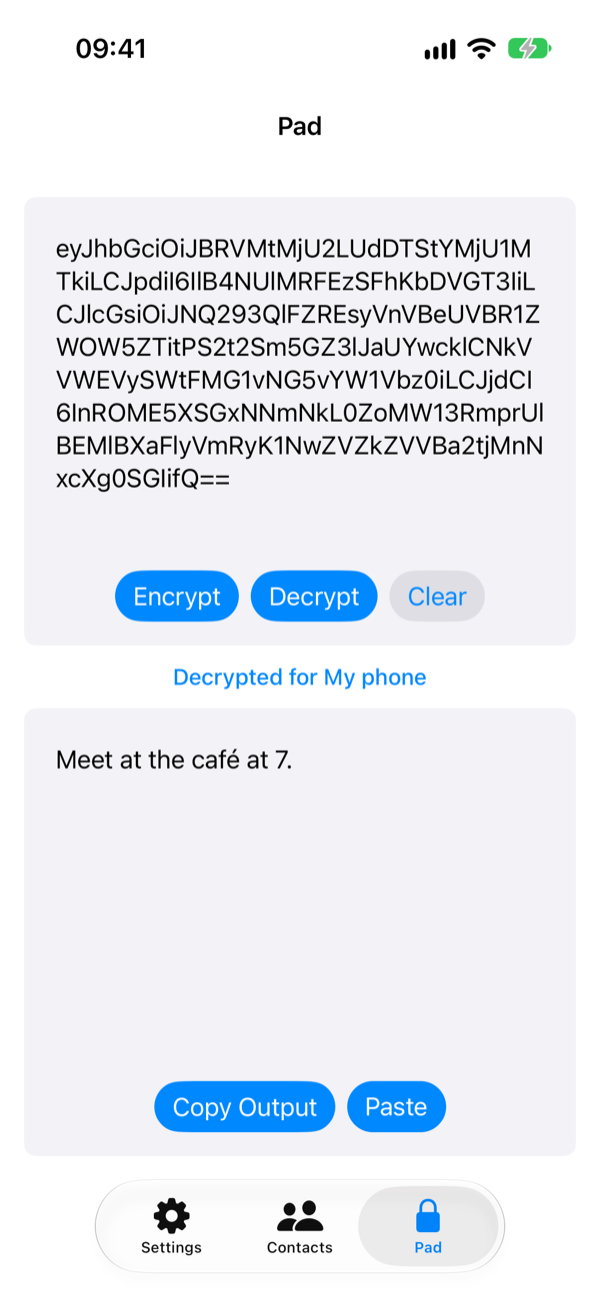
You do not pick a key for this: CryptoPad tries every key you have. Decrypt stays grey until you have a key of your own; with none, the Pad says “Generate a key in Settings tab to decrypt messages”. A message encrypted on Android opens here the same way. Clear empties both boxes when you are done.
7. Find and delete
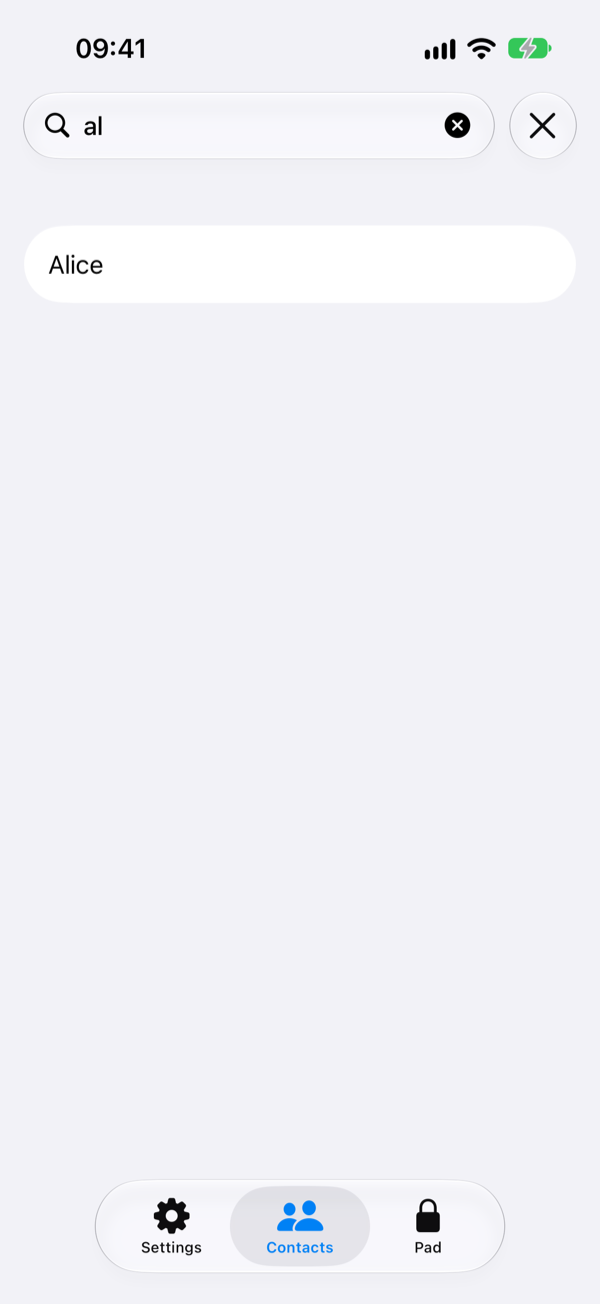
Type in Search contacts to keep only the contacts whose name contains it. To delete a contact or a key, swipe its row to the left and tap Delete; the app asks once more, and a deletion cannot be undone. To keep it after all, tap outside the question (or Cancel, where iOS shows one).
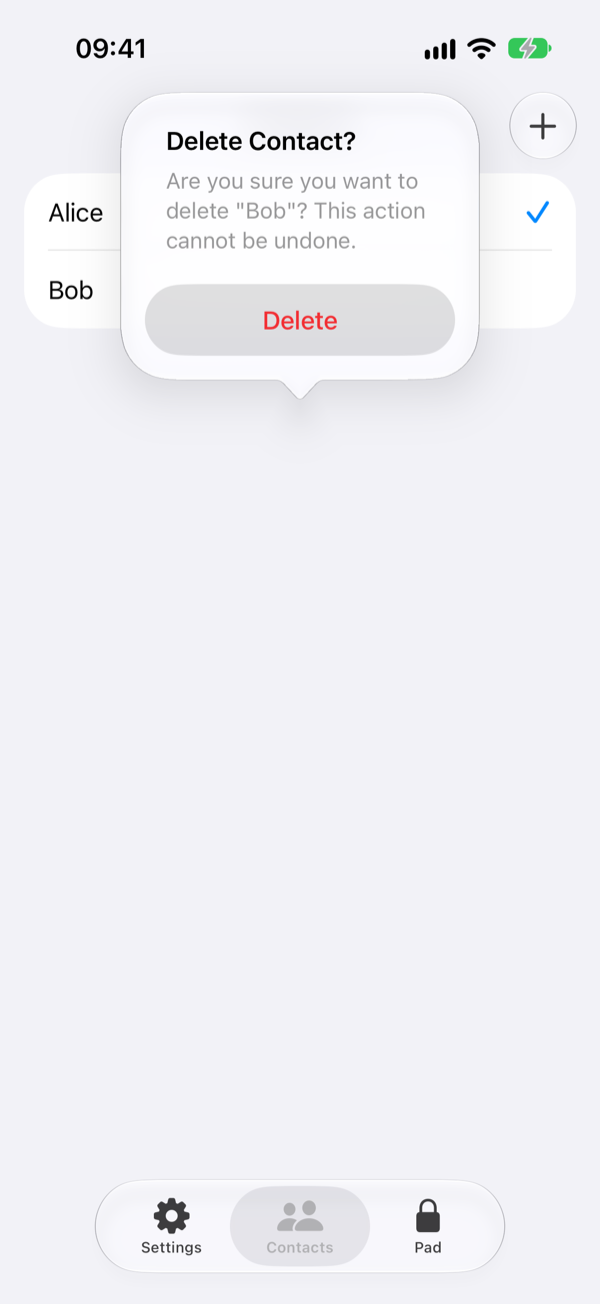
Deleting a key is final. Messages encrypted for it can no longer be opened, by anyone. If you make a new key, send your contacts its public part again.
8. When something goes wrong
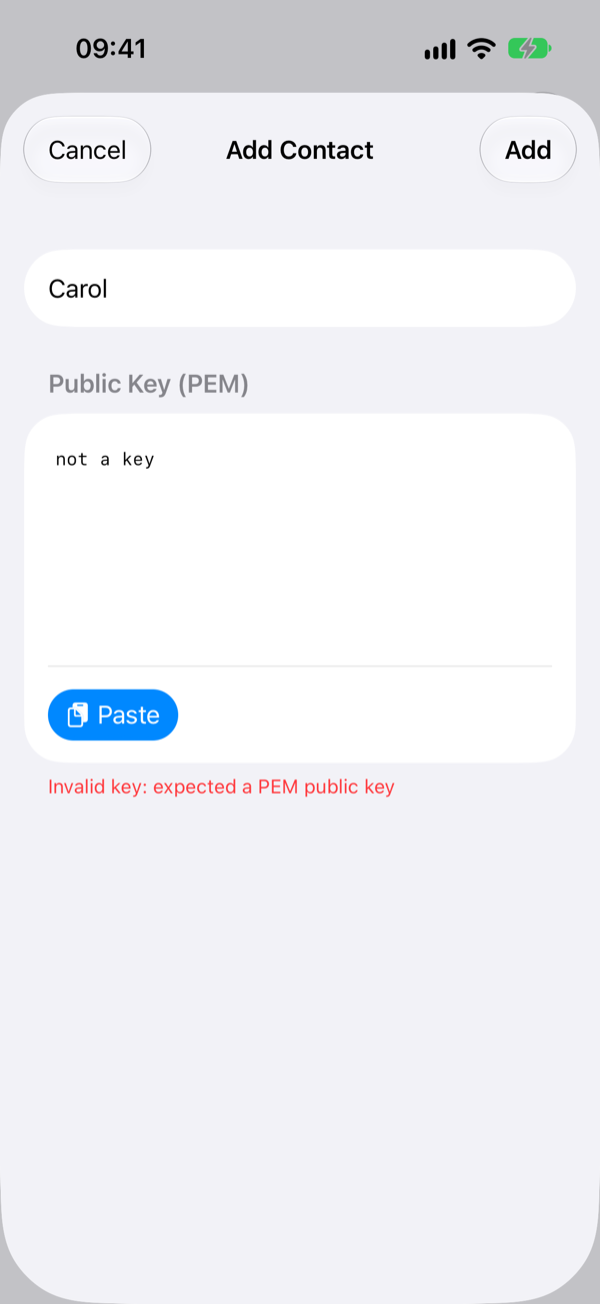
- “Invalid key: expected a PEM public key” (or another message starting “Invalid key” or “Unsupported key”; CryptoPad takes RSA, NIST/P-256 and X25519 keys only) — what was pasted as the contact's key is not a whole public key. Ask for it again and copy all of it, both marker lines included.
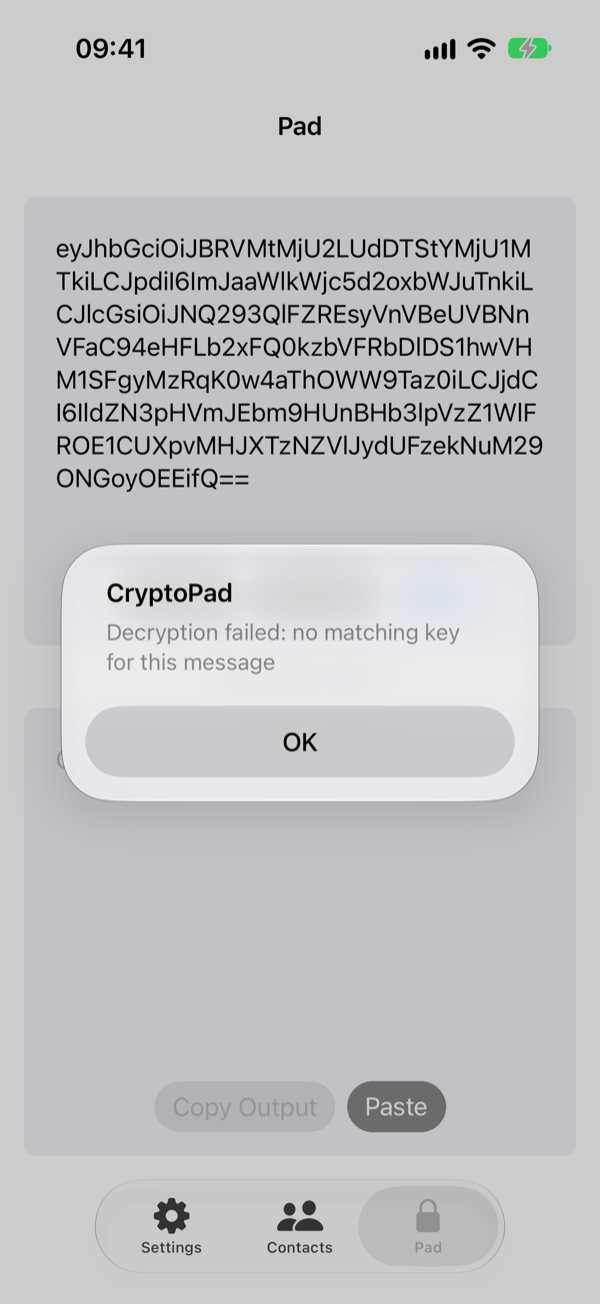
- “Decryption failed: no matching key for this message” — the message was not encrypted for any of your keys (perhaps for a key you deleted, or for someone else), or it was cut or changed on the way. Ask the sender which of your public keys they used, and to send the message again in one piece.
- “Contact with this name already exists” or “Key with this name already exists” — names must differ, whatever the capital letters. Change the name and try again.
More answers are on the Support page.